2023年7月19日水曜日

20230719 太陽 渋谷スクランブル交差点 平行 正方形 平面 


blender python で


正方形を作る

1辺の長さ 2

正方形 の座標中心位置は


0,0,5

0,0,+1

0,0,0

0,0,ー1


正方形の中心に

半径0.1球体を それぞれ作る


正方形の4角に それぞれ

半径0.1球体を それぞれ作る


import bpy


# 正方形のサイズと中心位置のリスト

squares = [

    {"size": 2, "location": (0, 0, 5)},

    {"size": 2, "location": (0, 0, 1)},

    {"size": 2, "location": (0, 0, 0)},

    {"size": 2, "location": (0, 0, -1)}

]


# 球体の半径

sphere_radius = 0.1


# 正方形を作成する関数

def create_square(size, location):

    bpy.ops.mesh.primitive_plane_add(size=size, location=location)


# 球体を作成する関数

def create_sphere(radius, location):

    bpy.ops.mesh.primitive_uv_sphere_add(radius=radius, location=location)


# 正方形を作成

for square_data in squares:

    create_square(square_data["size"], square_data["location"])


# 正方形の中心に球体を作成

for square_data in squares:

    create_sphere(sphere_radius, square_data["location"])


正方形の中心 から

x軸 -1ズレたとこに 半径0.1球体を作る

名付けて ”左側”


正方形の中心 から

x軸 +1ズレたとこに 半径0.1球体を作る

名付けて ”右側”


import bpy


# 正方形のサイズと中心位置のリスト

squares = [

    {"size": 2, "location": (0, 0, 5)},

    {"size": 2, "location": (0, 0, 1)},

    {"size": 2, "location": (0, 0, 0)},

    {"size": 2, "location": (0, 0, -1)}

]


# 球体の半径

sphere_radius = 0.1


# 正方形を作成する関数

def create_square(size, location):

    bpy.ops.mesh.primitive_plane_add(size=size, location=location)


# 球体を作成する関数

def create_sphere(radius, location, name):

    bpy.ops.mesh.primitive_uv_sphere_add(radius=radius, location=location)

    bpy.context.active_object.name = name


# 正方形と球体を作成

for i, square_data in enumerate(squares):

    create_square(square_data["size"], square_data["location"])

    create_sphere(sphere_radius, square_data["location"], f"Center_{i}")


    # 左側に球体を作成

    left_location = (square_data["location"][0] - 1, square_data["location"][1], square_data["location"][2])

    create_sphere(sphere_radius, left_location, f"Left_{i}")


    # 右側に球体を作成

    right_location = (square_data["location"][0] + 1, square_data["location"][1], square_data["location"][2])

    create_sphere(sphere_radius, right_location, f"Right_{i}")


コレクション名 " 上イメージ” 日本語で

作って

import bpy


# コレクション名を設定

collection_name = "上イメージ"


# コレクションを作成

new_collection = bpy.data.collections.new(collection_name)

bpy.context.scene.collection.children.link(new_collection)


それぞれの正方形の中心の 

y軸に +1 に

球体 半径 0.3

作って


2023年7月15日土曜日

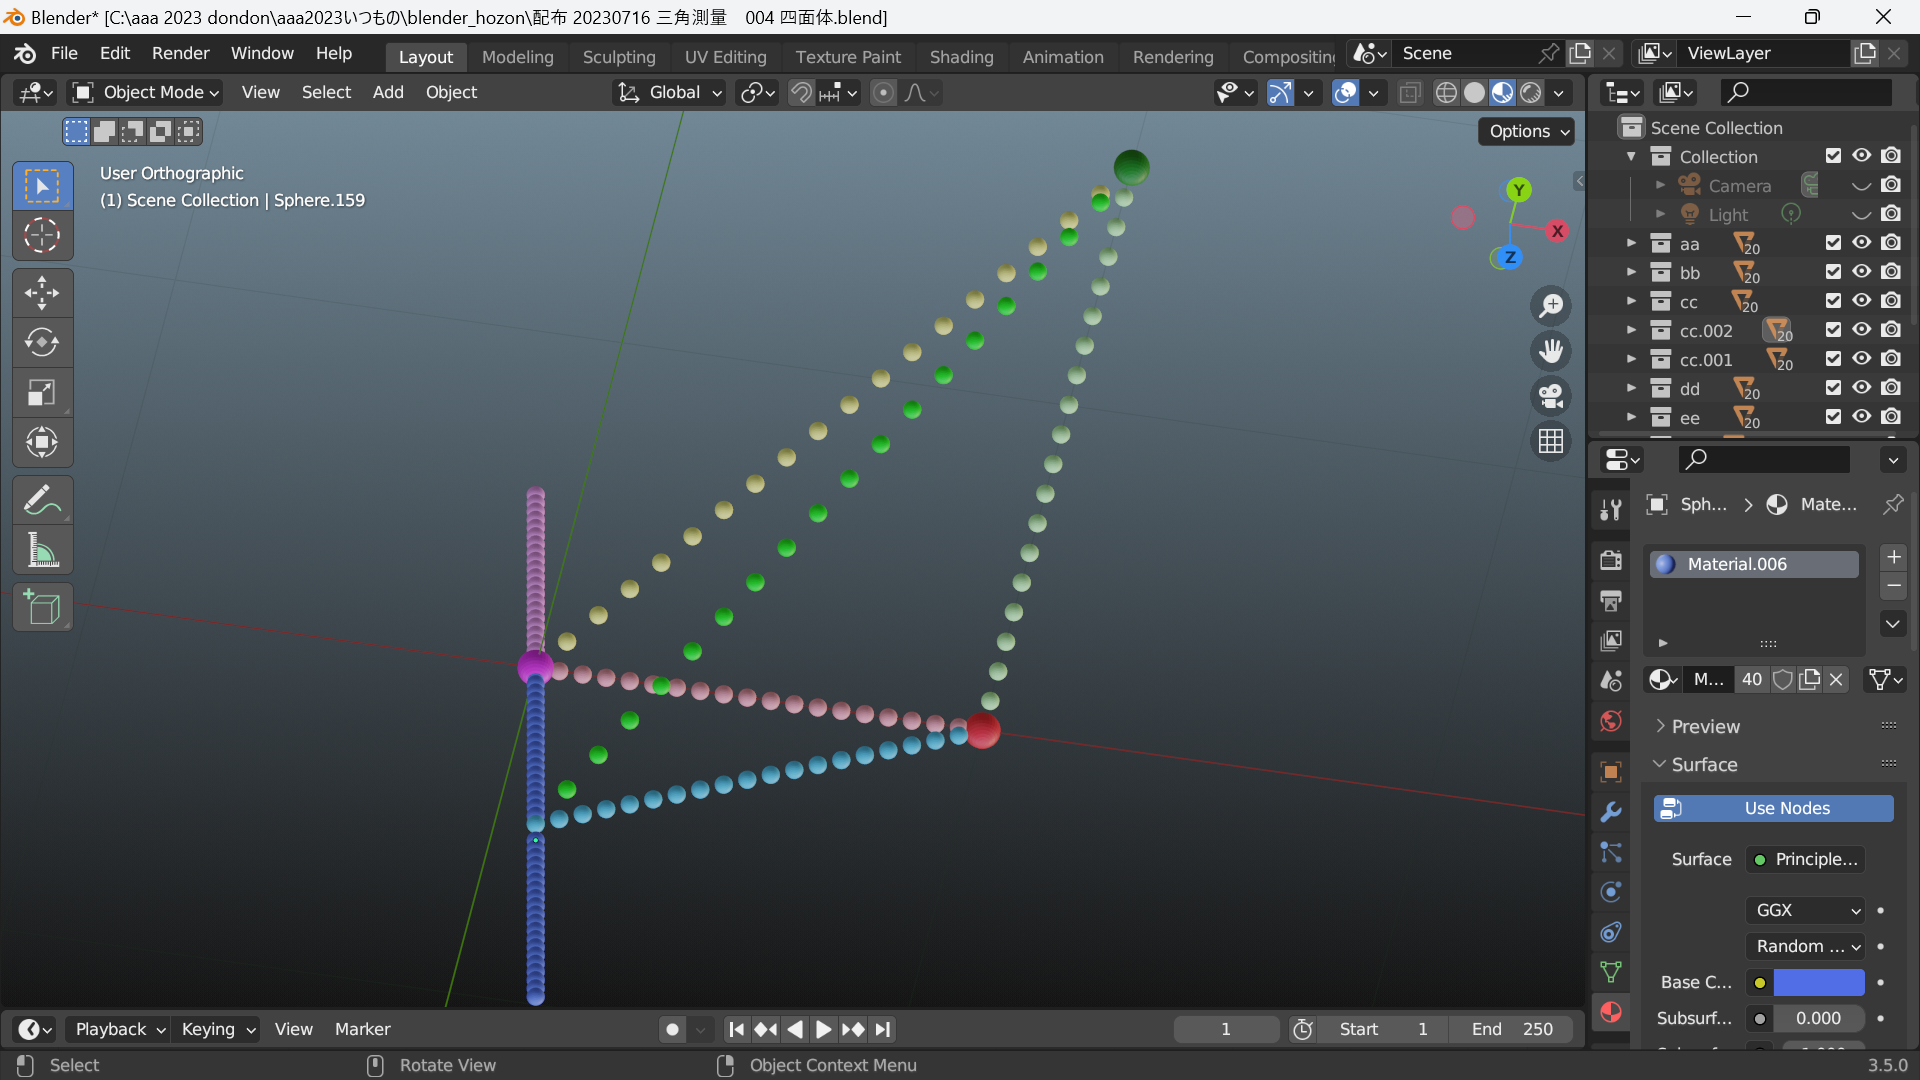
20230716 sun 三角測量 位置関係


ちゃんとできなかったので

手動で 追加


。指定された位置と半径で4つの大きな球体を作成し、それらの間に6つの線分に相当する位置に均等に9つの0.01の球体を配置するスクリプトを以下に示します。


4つの球体で

6つの 線分相当が

できるから


その6つの線分相当に

均等間隔で 9つの0.02 球体 描いて


blender python 


球体を作る

半径 0.03


位置は

0,0,0.5

1,√3,0

1,0,0

0,0,0


4点の間 それぞれに

9個の球体を作る

この球体の半径 0.04


4点の間を

”あ”

”い”

”う”

”か”

”き”

”く”


と 名付け


半径 0.02の球体に 連番で

”あ01" "あ02"  このように名付ける


2023年7月14日金曜日

20230715 窓面への投影


#3つの円柱 線路レール


# 線路レール円柱

import bpy

import math


# 円柱のパラメータ

radius = 0.005

height = 2.0


# 円柱1を作成して90度回転させる

bpy.ops.mesh.primitive_cylinder_add(radius=radius, depth=height, vertices=32, align='WORLD')

cylinder1 = bpy.context.object

cylinder1.rotation_euler[1] = math.radians(90)

cylinder1.name = "円柱 Y = 0"


# 円柱2を作成してY軸に-1移動させ、90度回転する

bpy.ops.mesh.primitive_cylinder_add(radius=radius, depth=height, vertices=32, align='WORLD')

cylinder2 = bpy.context.object

cylinder2.location[1] = -1.0

cylinder2.rotation_euler[1] = math.radians(90)

cylinder2.name = "円柱 Y = -1"


# 円柱3を作成してY軸に+1移動させ、90度回転する

bpy.ops.mesh.primitive_cylinder_add(radius=radius, depth=height, vertices=32, align='WORLD')

cylinder3 = bpy.context.object

cylinder3.location[1] = 1.0

cylinder3.rotation_euler[1] = math.radians(90)

cylinder3.name = "円柱 Y = +1"


#トーラス 円周

import bpy

import math


# トーラスのパラメータ

major_radius = 1.0

minor_radius = 0.005


# トーラスを作成する

bpy.ops.mesh.primitive_torus_add(

    align='WORLD',

    location=(0, 0, 0),

    major_radius=major_radius,

    minor_radius=minor_radius,

    major_segments=48,

    minor_segments=12

)


# 作成したオブジェクトを選択する

torus = bpy.context.object

torus.select_set(True)

bpy.context.view_layer.objects.active = torus


# Y軸方向に 0単位移動する

bpy.ops.transform.translate(value=(0, 0, 0))


# オブジェクトの選択を解除する

bpy.ops.object.select_all(action='DESELECT')


# 視線 レール右端

import bpy

import mathutils


# パラメータの設定

num_spheres = 21

sphere_radius = 0.01

start_pos = mathutils.Vector((0, 0, 0))

# end_pos = mathutils.Vector((2, 2, 0))

end_pos = mathutils.Vector((-2, 2, 0))


# 球体を作成する関数

def create_sphere(position):

    bpy.ops.mesh.primitive_uv_sphere_add(radius=sphere_radius, location=position)


# 球体の配置間隔を計算する

spacing = (end_pos - start_pos) / (num_spheres - 1)


# 球体を作成して配置する

for i in range(num_spheres):

    position = start_pos + spacing * i

    create_sphere(position)


#窓面 線路レール イメージ長さ

import bpy

import mathutils

import math


# パラメータの設定

start_pos = mathutils.Vector((-1 / math.sqrt(2), 1 / math.sqrt(2), 0))

end_pos = mathutils.Vector((1 / math.sqrt(2), 1 / math.sqrt(2), 0))

cylinder_radius = 0.005


# 線分を円柱として作成する関数

def create_cylinder(start, end, radius):

    bpy.ops.mesh.primitive_cylinder_add(radius=radius, depth=(end - start).length, location=(start + end) / 2)

    cylinder = bpy.context.object

    direction = end - start

    cylinder.rotation_euler = direction.to_track_quat('Z', 'Y').to_euler()

    return cylinder


# 線分を円柱として作成

cylinder = create_cylinder(start_pos, end_pos, cylinder_radius)


コレクションを作る


”線路レール 円柱"

"円周 トーラス"

"視線 rail 右端"

"視線 rail 左端"


2023年7月9日日曜日

20230710 mon 球体で 数直線


RGBAのカラーサンプル

https://ywork2020.com/content/tips-rgba-color-sample.html


RGBAの各成分を255の範囲から1.0の範囲に変換するためには、次のような変換を行います。

  1. RGBAの各成分の値を0から255の範囲に持つ整数として取得します。
  2. 各成分の値を255で除算します。
  3. 得られた結果を小数点以下2桁まで丸めます。

以下にPythonのコード例を示します。


blender python で スクリプト 書く


円柱を3つ作る

円柱長さ 10

円柱半径 0.01

円柱中心位置 Bleu  0,0,+1

円柱中心位置 Green  0,0,0

円柱中心位置 Red  0,0,-1


# 3本の円柱 

import bpy

import math


# 円柱を作成する関数

def create_cylinder(center_point, index):

    bpy.ops.mesh.primitive_cylinder_add(

        align='WORLD',

        location=center_point,

        depth=10,

        rotation=(0, math.pi/2, 0),  # y軸を回転軸にして90度回転

        radius=0.01

    )


    # 作成した円柱に連番の名前を付ける

    obj = bpy.context.object

    obj.name = "Cylinder{}".format(index)


# 円柱1

center_point_1 = (0, 0, -1)

create_cylinder(center_point_1, 1)


# 円柱2

center_point_2 = (0, 0, 0)

create_cylinder(center_point_2, 2)


# 円柱3

center_point_3 = (0, 0, 1)

create_cylinder(center_point_3, 3)


#色付き 円柱 3つ

import bpy

import math


# 円柱を作成する関数

def create_cylinder(center_point, index, color):

    bpy.ops.mesh.primitive_cylinder_add(

        align='WORLD',

        location=center_point,

        depth=10,

        rotation=(0, math.pi/2, 0),  # y軸を回転軸にして90度回転

        radius=0.01

    )


    # 作成した円柱に連番の名前を付ける

    obj = bpy.context.object

    obj.name = "Cylinder{}".format(index)


    # マテリアルを追加して色を設定

    mat = bpy.data.materials.new("Material{}".format(index))

    mat.use_nodes = True

    obj.data.materials.append(mat)


    # ノードエディタで色を設定

    node_tree = mat.node_tree

    principled_bsdf = node_tree.nodes.get("Principled BSDF")

    if principled_bsdf:

        principled_bsdf.inputs[0].default_value = color


# 円柱1

center_point_1 = (0, 0, -1)

color_1 = (200/255, 0.0, 0.0, 0.8)  # 赤色 (RGBA)

create_cylinder(center_point_1, 1, color_1)


# 円柱2

center_point_2 = (0, 0, 0)

color_2 = (0.0, 1.0, 0.0, 1.0)  # 緑色 (RGBA)

create_cylinder(center_point_2, 2, color_2)


# 円柱3

center_point_3 = (0, 0, 1)

color_3 = (0.0, 0.0, 1.0, 1.0)  # 青色 (RGBA)

create_cylinder(center_point_3, 3, color_3)


21個の球体を作る

球体半径 0.02

名前を付ける 連番で Green水平

(-1,0,0) と(+1,0,0) の間に均等配置


# Green水平 球体21個

import bpy


# 球体を作成する関数

def create_sphere(location, index, color):

    bpy.ops.mesh.primitive_uv_sphere_add(

        radius=0.03,

        location=location

    )


    # 作成した球体に連番の名前を付ける

    obj = bpy.context.object

    obj.name = "Green水平{}".format(index)


    # マテリアルを追加して色を設定

    mat = bpy.data.materials.new("Material{}".format(index))

    mat.use_nodes = True

    obj.data.materials.append(mat)


    # ノードエディタで色を設定

    node_tree = mat.node_tree

    principled_bsdf = node_tree.nodes.get("Principled BSDF")

    if principled_bsdf:

        principled_bsdf.inputs[0].default_value = color


# 21個の球体を作成

start_pos = (-1.0, 0.0, 0.0)  # 配置の開始位置

distance = 0.1  # 球体同士の間隔

color = (0.0, 1.0, 0.0, 1.0)  # 緑色 (RGBA)


for i in range(21):

    x = start_pos[0] + (i * distance)

    location = (x, start_pos[1], start_pos[2])

    create_sphere(location, i+1, color)


21個の青い球体を作る

球体半径 0.03 

(0,0,1) と(+2,0,1) の間に均等配置


作った 球体21個を複製し 移動する

(1,0,1) と(+2,0,1) の間に均等配置

名前を付ける 連番で Blue+1水平


作った 球体21個を複製し 移動する

(1,0,1) と(+2,0,1) の間に均等配置

名前を付ける 連番で Blue time+1水平


3つのコレクションを作り 3つに分けて 名前は B原点 B水平移動 B時間移動


import bpy


# コレクションを作成する関数

def create_collection(name):

    collection = bpy.data.collections.new(name)

    bpy.context.scene.collection.children.link(collection)


# コレクションを作成

create_collection("B原点")

create_collection("B水平移動")

create_collection("B時間移動")


コレクションだけを作り 名前は 

R原点 

R水平移動 

R時間移動

G時間移動

G原点


import bpy


# コレクションを作成する関数

def create_collection(name):

    collection = bpy.data.collections.new(name)

    bpy.context.scene.collection.children.link(collection)


# コレクションの作成

create_collection("R原点")

create_collection("R水平移動")

create_collection("R時間移動")

create_collection("G時間移動")

create_collection("G原点")


20230710 散布図 


BlenderのPythonスクリプトを使用して、50個のランダムなXY座標を持つ点の散布図を作成


ChatGPTでGPT-4のCode Interpreterを触ってみる by Yuichiro Minato | blueqat

https://blueqat.com/yuichiro_minato2/45612470-6574-41d1-8940-469669924e12


# 50個のランダムなXY座標を持つ点の散布図

import bpy

import random


# 点の数を指定します

point_count = 50


# ランダムなXY座標を生成します

points = [(random.uniform(-10, 10), random.uniform(-10, 10)) for _ in range(point_count)]


# 点オブジェクトを作成します

for point in points:

    bpy.ops.object.empty_add(location=(point[0], point[1], 0))


# レンダリング設定を調整します

bpy.context.scene.render.engine = 'CYCLES'

bpy.context.scene.cycles.device = 'GPU'


# カメラを設定します

bpy.ops.object.camera_add(location=(0, 0, 20))

bpy.context.scene.camera = bpy.context.object


# ランダムな色のマテリアルを作成します

for obj in bpy.data.objects:

    if obj.type == 'EMPTY':

        mat = bpy.data.materials.new(name='PointMaterial')

        mat.use_nodes = True

        obj.data.materials.append(mat)

        mat.node_tree.nodes.new(type='ShaderNodeRGB')

        mat.node_tree.nodes["RGB"].outputs[0].default_value = (random.uniform(0, 1), random.uniform(0, 1), random.uniform(0, 1))


# レンダリングを実行します

bpy.ops.render.render(write_still=True)


2023年7月8日土曜日

20320709  正式版 原点 正面窓 Y軸 90度回転


# 原点 正面窓 Y軸 90度回転

import bpy

import math


radius_list = [1, math.sqrt(2)/2, math.sqrt(3)/2, math.sqrt(2), math.sqrt(3), 2]

height = 0.005


for radius in radius_list:

    bpy.ops.mesh.primitive_cylinder_add(

        radius=radius,

        depth=height,

        location=(0, 0, 0)

    )


    obj = bpy.context.active_object

    bpy.context.view_layer.objects.active = obj

    obj.select_set(True)


    obj.name = f"原点 窓{radius}"


    bpy.ops.object.origin_set(type='ORIGIN_CENTER_OF_MASS', center='BOUNDS')


    bpy.ops.transform.rotate(value=math.radians(90), orient_axis='Y')


コレクションだけを作る

名前は

”単位円 円周トーラス"
”原点 円柱"
”窓面 円柱"
”実物 円柱"

”原点 数学 XY 円柱円板"
”原点 正面窓 YZ 円柱円板"
”原点 土台 ZX 円柱円板"

”窓面 数学 XY 円柱円板"
”窓面 正面窓 YZ 円柱円板"
”窓面 土台 ZX 円柱円板"

”実物 数学 XY 円柱円板"
”実物 正面窓 YZ 円柱円板"
”実物 土台 ZX 円柱円板"


あああああ